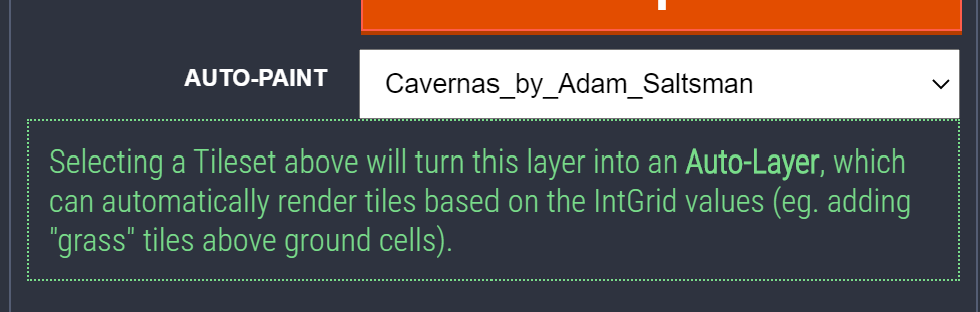
Auto-layers are actually based on IntGrid layers with a twist: they have a Tileset linked to them and rules to paint tiles automatically.
Creating an IntGrid auto-layer
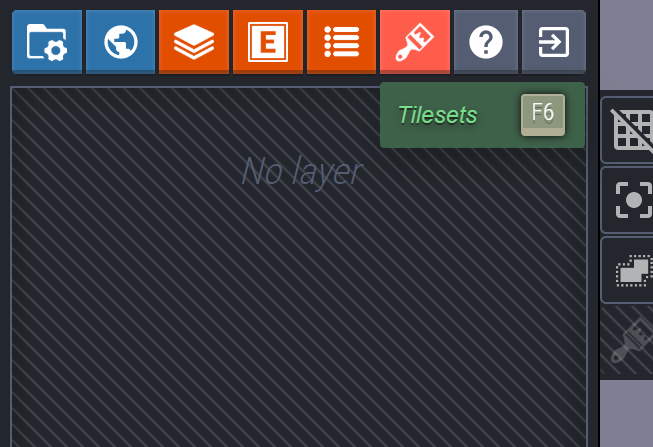
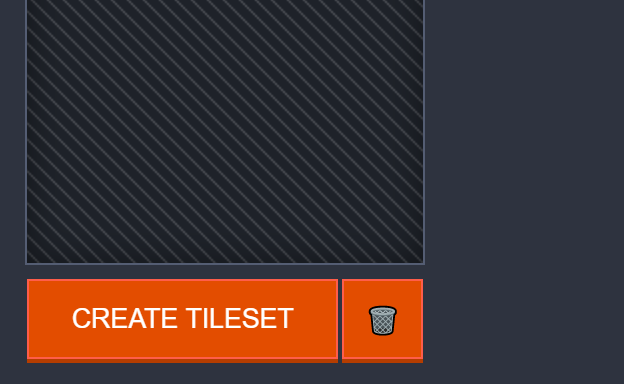
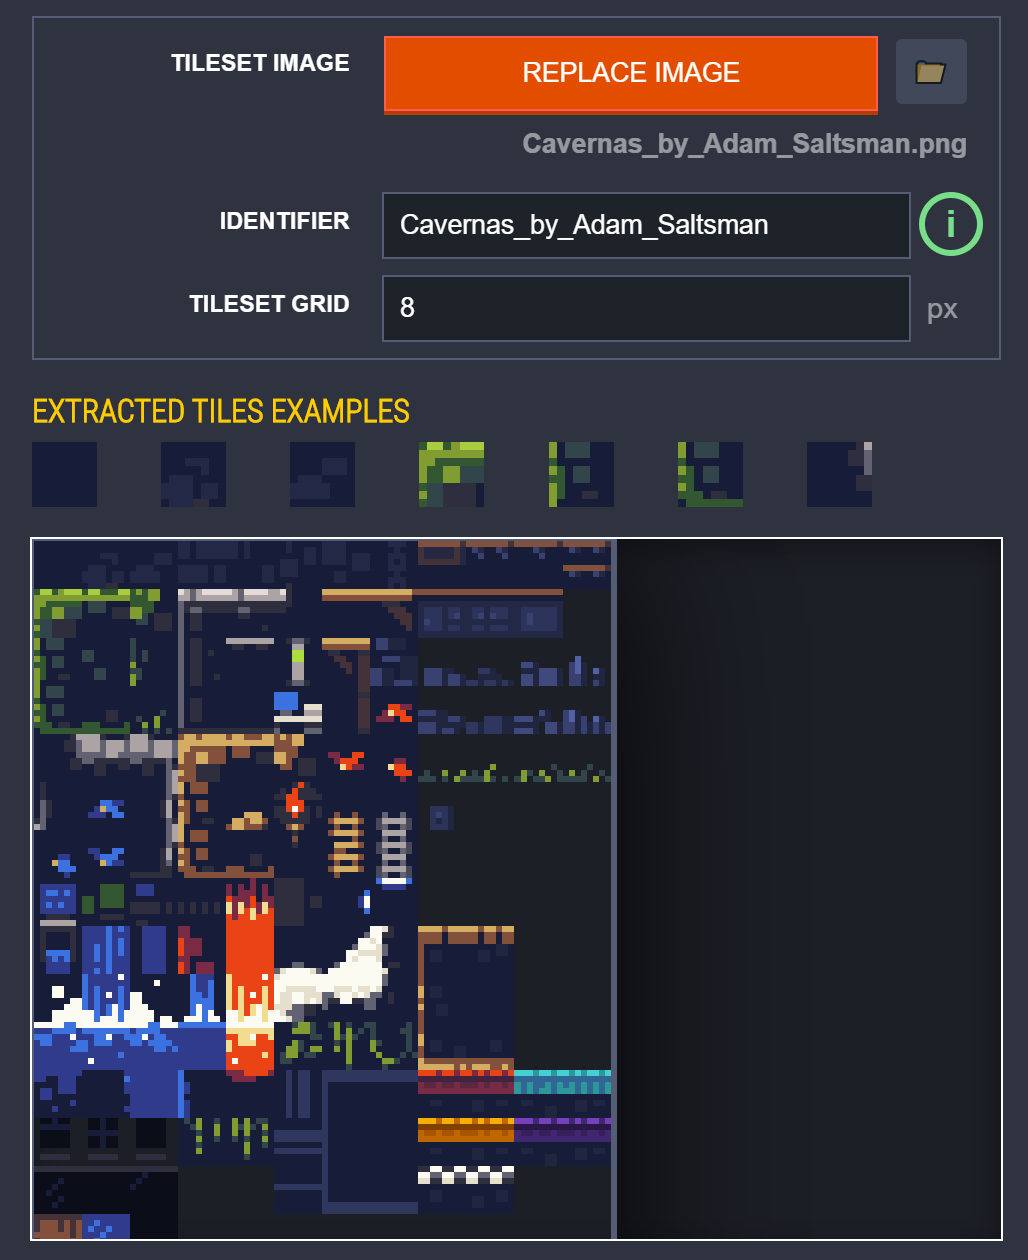
Step 1 – Create a Tileset
You can use the free tileset Cavernas from Adam Saltsman for your tests.
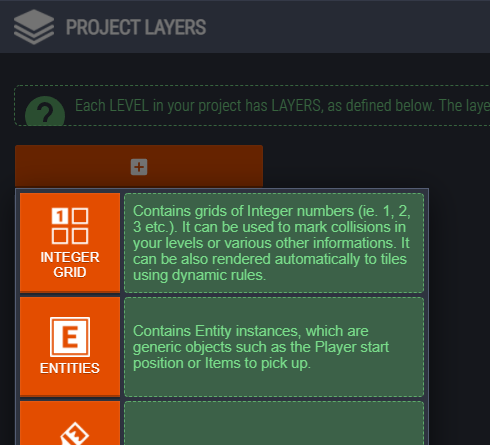
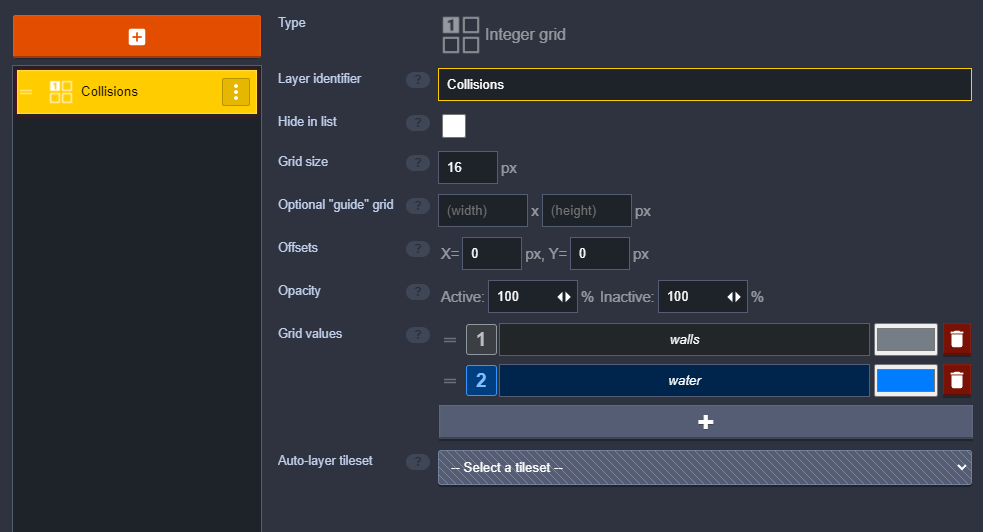
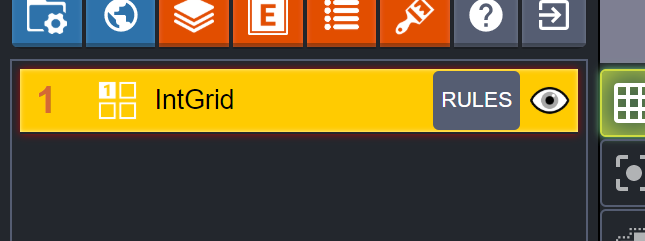
Step 2 – Create an IntGrid layer

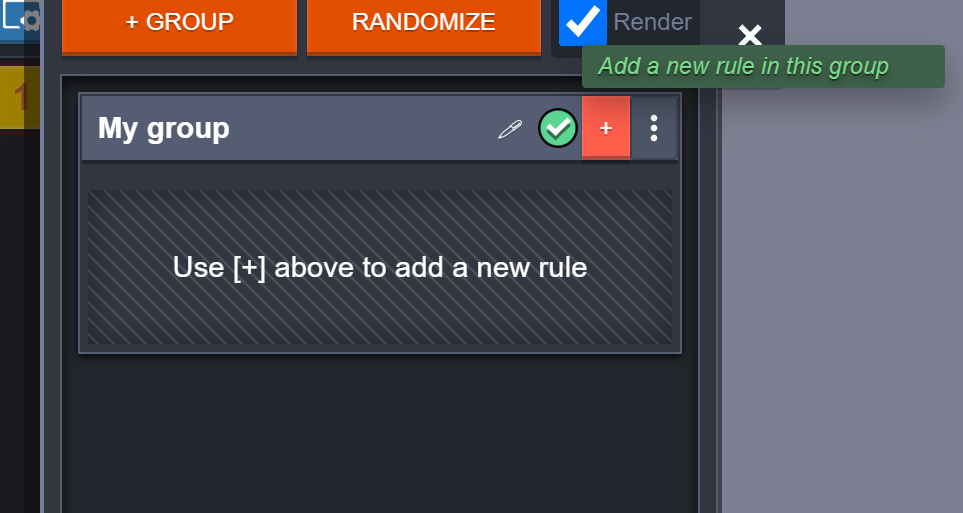
Step 3 – Add some rules

Important
There are actually 2 types of auto-layers:
- IntGrid layers with rules: just a normal IntGrid layer with a tileset attached, as shown above.
- Pure auto-layers: this distinct layer type only contain rules, and takes its source data from another separate IntGrid layer. Pure auto-layers can be really useful if you want to render separate foreground and background layers using a single IntGrid source.
How rules work?
Here is the rule editor window:

Rules are grid patterns that will decide if a specific tile should be painted on your layer.
Here is a simple rule:
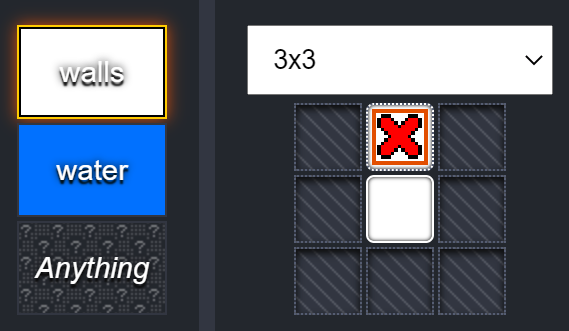
It says “Paint the tile on the left if” :
- in any given cell, there is a “collision” IntGrid value (white)
- AND there is no “collision” value above.
And here is another one:
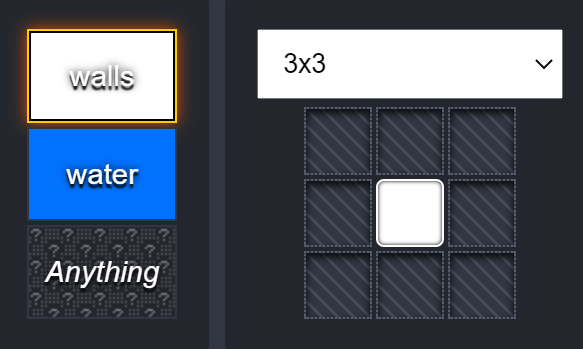
This second one means: “Paint the tile on the left if any given grid cell contains a “collision” value“.
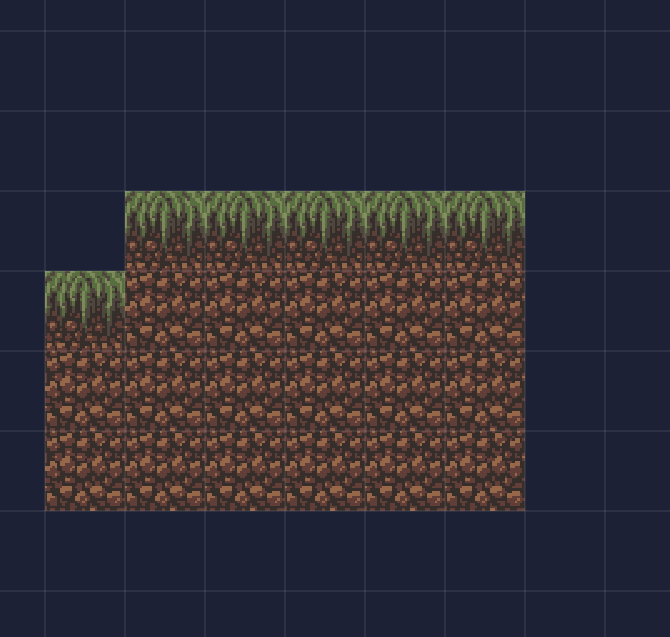
With these 2 rules, if you add collisions to your layer, the tiles will be drawn automatically:
If you press SHIFT+R or uncheck the Render option in the Rules panel, you will see the “pure” IntGrid layer, without the tiles: